
How to manage images in the Wizard
November 11, 2021

How to Manage Images
Images can be eye catching, distracting, exciting and/or inspiring. Often enough, we don’t give images the credit for the purpose they play in our daily lives, regardless if it is to aid our purchasing decisions, give us direction, help us understand complex or even simple steps, images play an important role in everyday activities.
So what does that have to do with Boomerang?
Well, with Boomerang surveys, a major component of the survey are images.
Do you want to increase survey responses and make your survey more attractive?
Add an image!
In this tutorial, I will show you four steps to manage image settings in the Boomerang survey tool. We will take a look at the following:
- Automatic image selection
- Changing images
- Uploading images for your survey
- And how to remove text from the image to meet your visual needs.
Without further ado, let’s dive in.
1) Automatic Image Selection
I call this automatic image selection, but the correct name for this function is “Predicted Image Search”. Basically, the AI searches for an appropriate image based on the value answer 1, 2, ... and automatically inserts an image into the field. Super easy and hassle-free.
So how does this work?
Below is a screenshot of the Wizard prior to filling out the question field. At this point there are no pictures, no text, just a blank form.
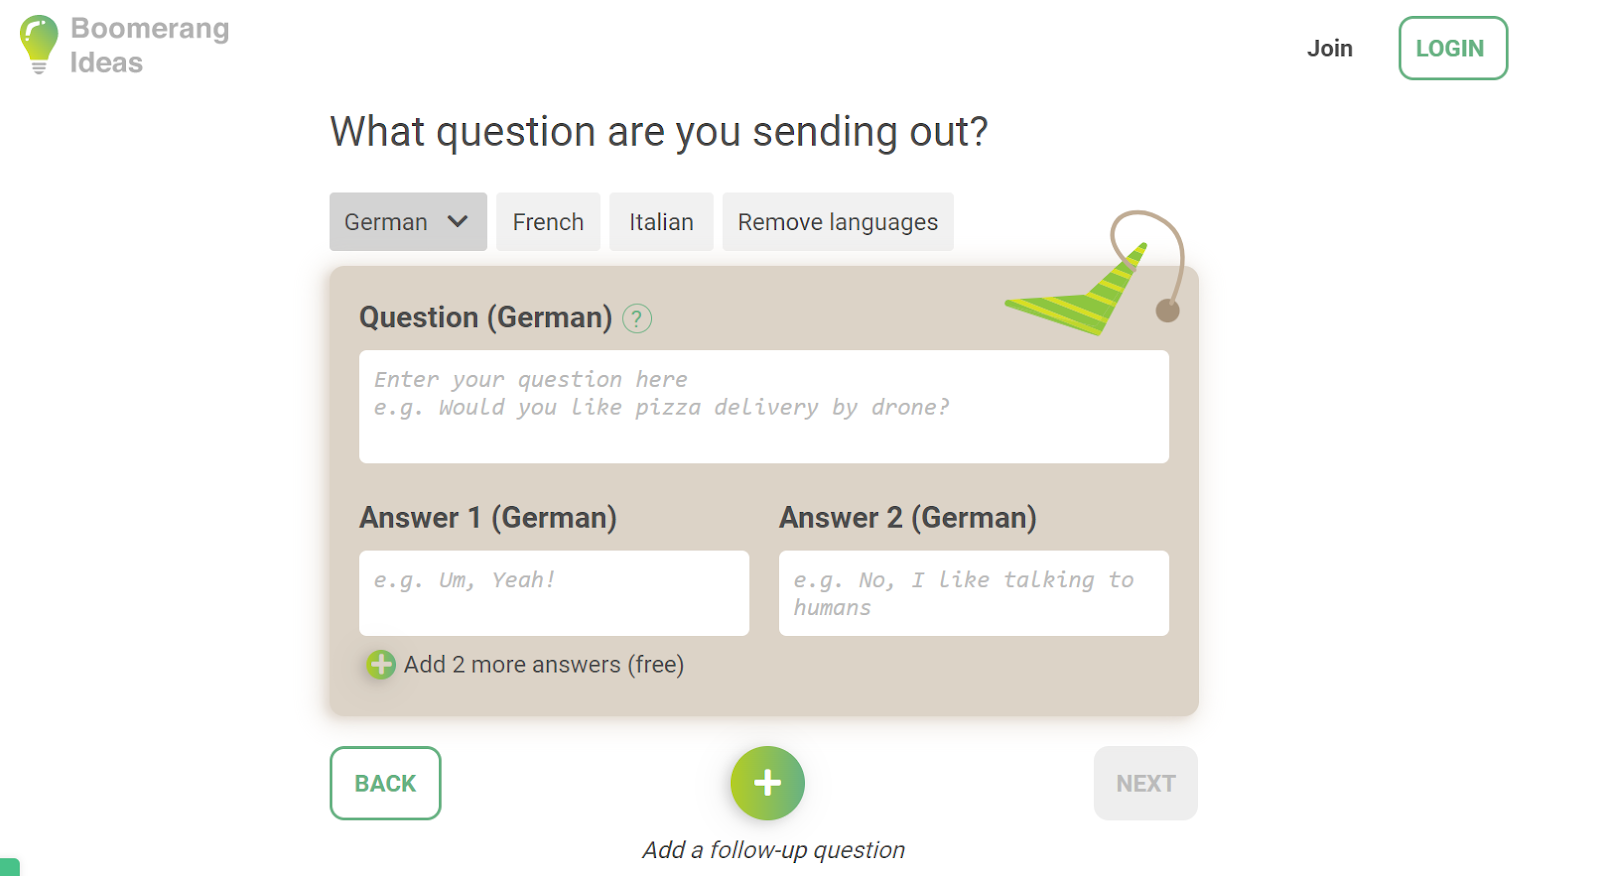
To start, type the first survey question in the question box. At this point images will either appear automatically, or they may, however, only appear once you begin to type the answer field.
2) How to choose your own images
What if you don’t like the pictures that the Wizard chooses?
No problem!
Let me show you how to change the pictures…
Great, now you know how to change your survey images.
In the case you choose to add more answers, follow the same procedure to change the images as desired. The same goes for adding additional questions to your survey.
3) Upload your own images
Are you considering A/B testing?
Maybe you want to test your logo design or product design?
No worries, you can do this too!
Let me show you how...
Start by signing in to your account (or signing up) to upload an image. Begin by creating a survey. Once you have filled out the options, you can click on one of the images, and a box will pop up providing you with alternative image options.
Below the alternative options, there is a button to upload your own image. Click to upload an image from your desktop or mobile.

4) How to remove the image in the background
Easy, simply click on the arrows in the bottom right corner of the image and the overlay expands. Additionally, the overlay text function can be turned off entirely, this removes the text, leaving you with a plain image.
There you have it, everything you need to create a know about image settings for your next survey.
Why not give it a try, throw a boomerang today!
